Your Cart is Empty
Okay Lady, we love these two Puzzle framing hacks because:
A/ They are easy and involve no mess, no fuss
B/ You can swap over your jigsaw artwork in 2 minutes flat and create a totally different mood for your wall

"Peony Kitty" Puzzle in a floating mount
We have used two different size stretched canvases (in two different colours) to create two very distinct mounting looks.
They involve the exact same process and, as with all our hacks, they start by gluing your jigsaw first, so head HERE for a "how to".
You will need:
- 1 x 20"x 20" stretched canvas like THIS one
- Velcro ADHESIVE dots, making sure you get the size that can hold at least 500gm (we found ours at Spotlight)
For a "floating" style mount, we used the 20" inch canvas, as it's slightly smaller than our finished Puzzle (they measure 52 x 52cm), and as such, once the art is attached, the frame becomes invisible. Clever huh?
The simplest way to make sure your sticky dots line up, is to attach them to each other, loop to hook sides first, and then stick the adhesive side to the canvas.
We found that 3 per edge provides enough strength against gravity once your artwork is up on the wall.


If you're super particular you can measure that tiny space between frame and jigsaw size and line it up perfectly, or you can do it by eye like we did and get to open the wine faster in order to toast your hard work.
Push your Puzzle against the canvas and make sure you apply good firm pressure onto each dot, so that they are now sticking to canvas and Puzzle.
You can even lay it flat and put some heavy books on top for 24 hours to ensure maximum grip.
All you have to do now, is find the perfect spot in your home and hang this beauty.
The side view will show the coloured edge of the canvas so if you're a pedant for matchy-matchy, by all means paint your canvas before starting the process.

For the other canvas mount that gives a black border effect, we followed the exact same steps as above with the Ikea canvas, but because this one is bigger than the completed Puzzle, we attached the adhesive dots to the jigsaw first.

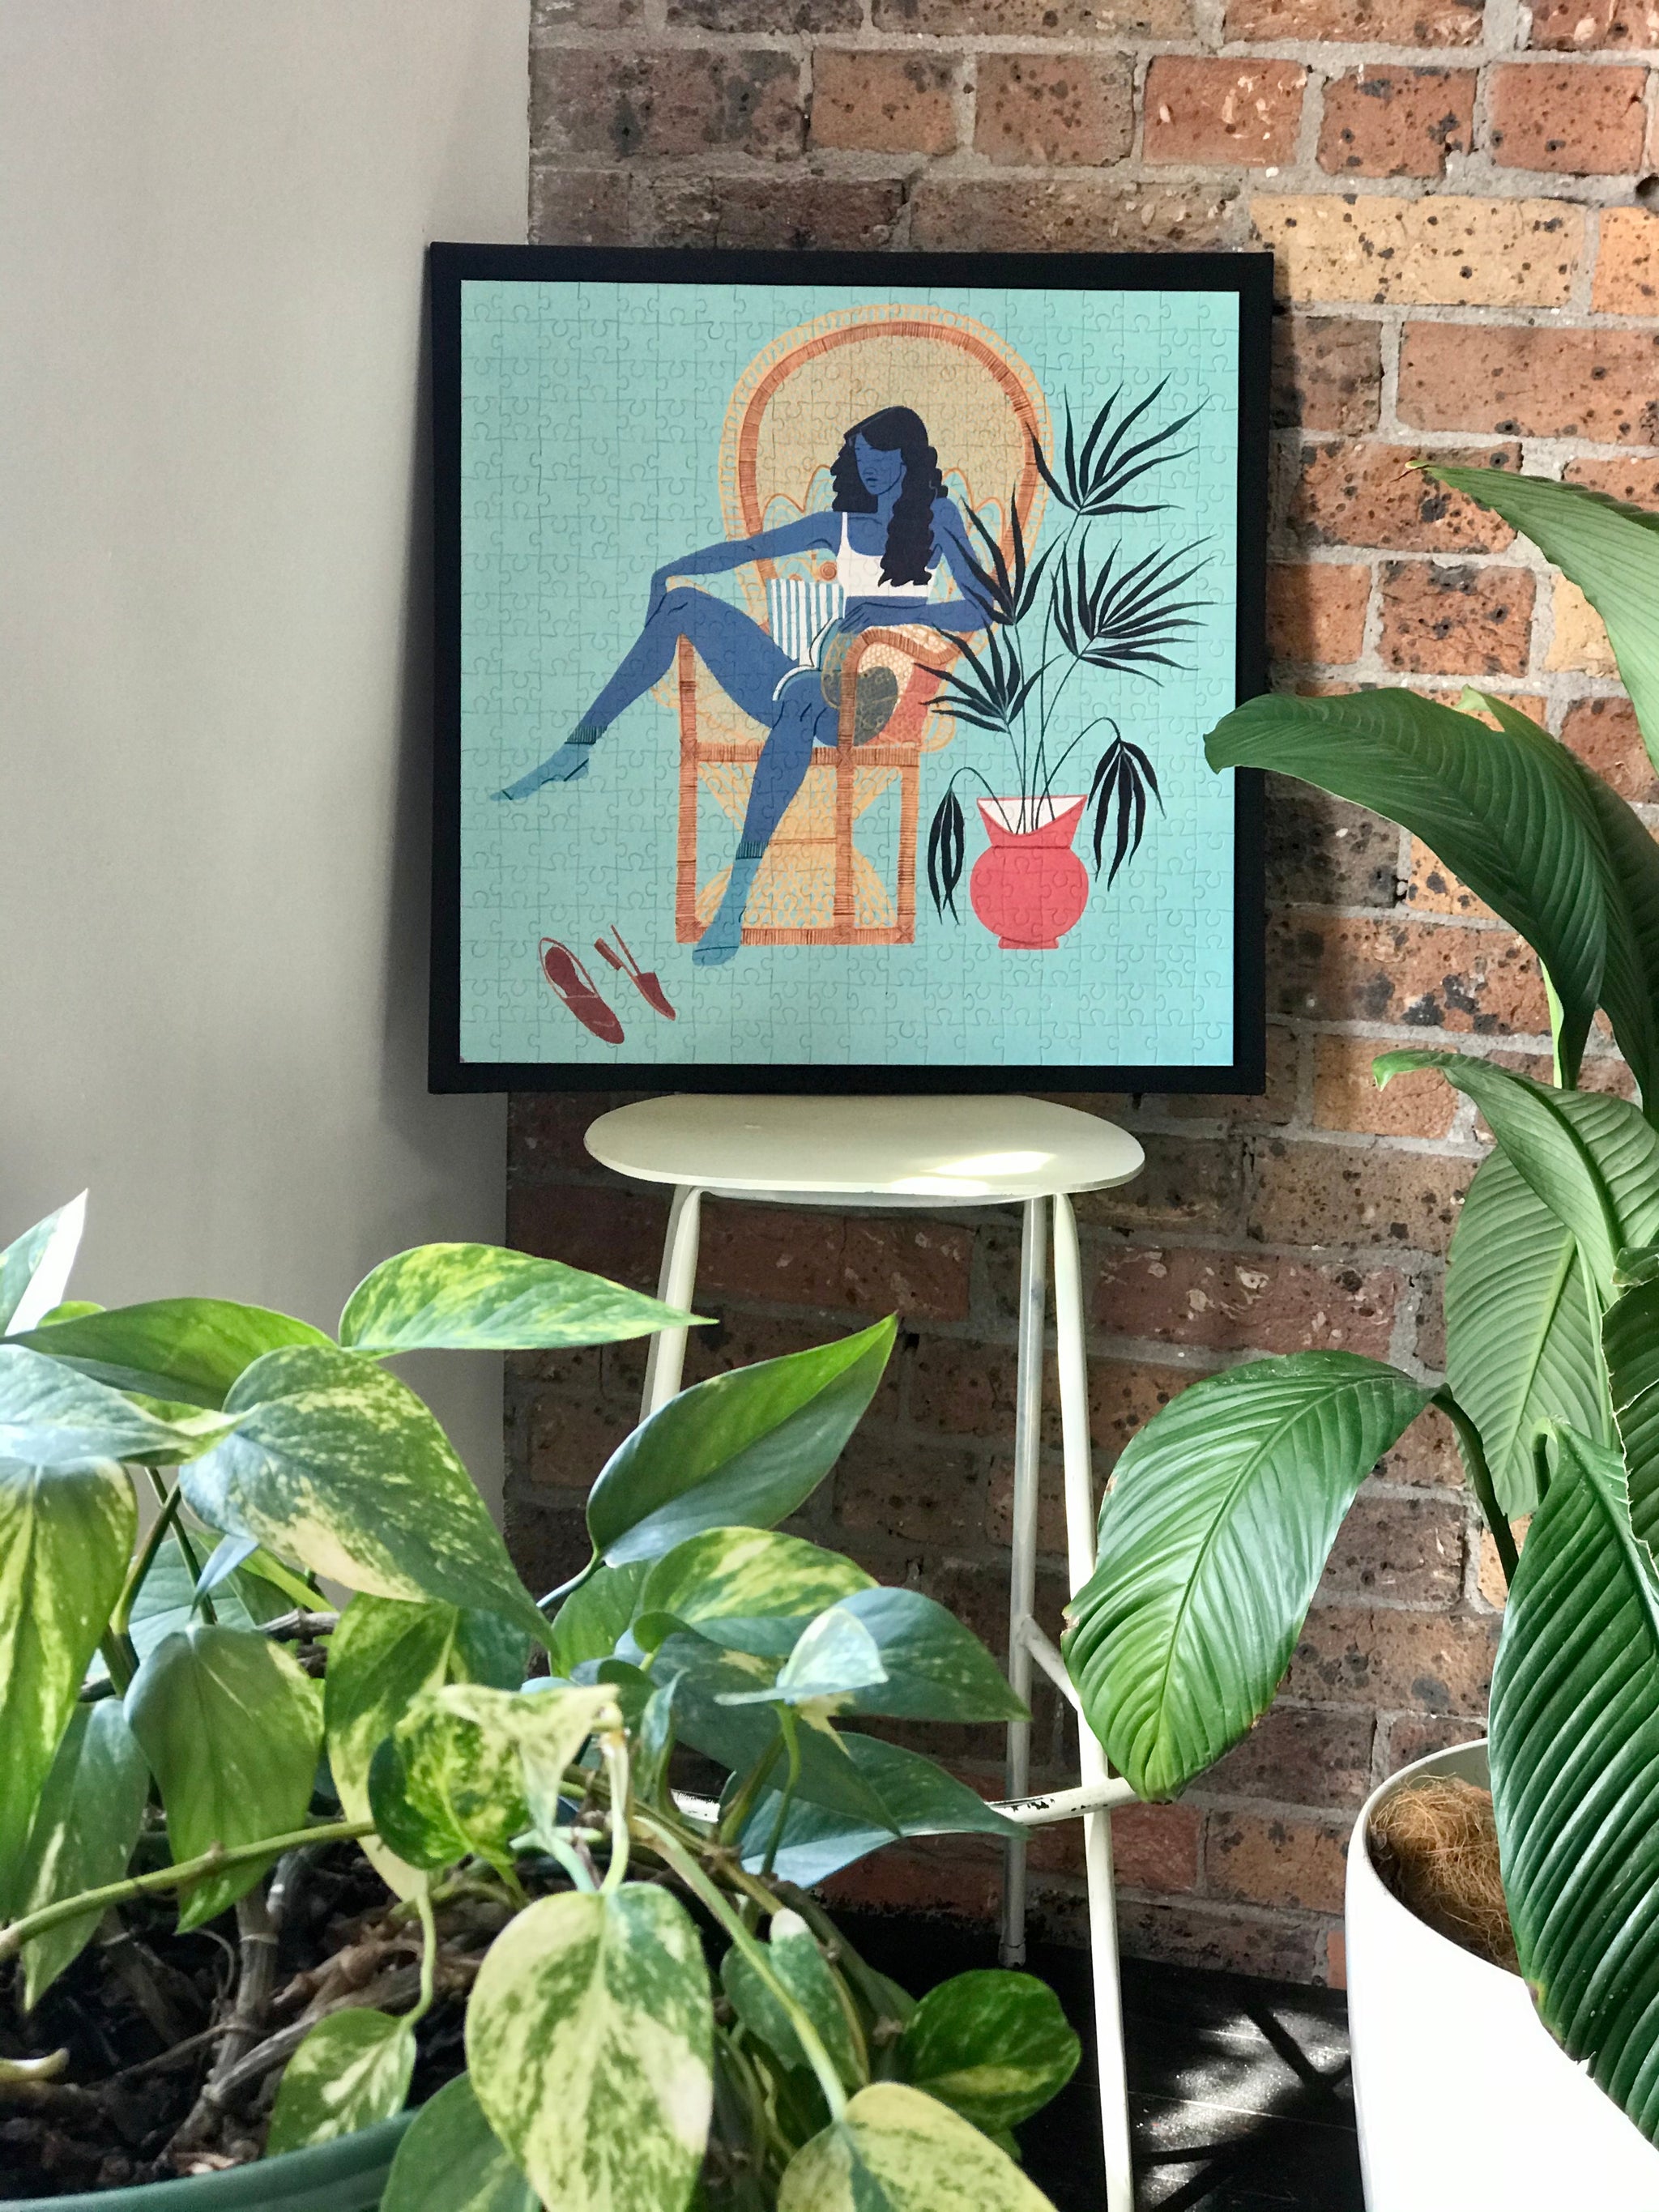
Adios played-out Scandinavian vibes

Hola pretty "Queenie" print
Again we just measured with our eye and stuck our Puzzle straight on.
And now for the absolute best bit of this hack... you can change the prints over whenever you like!
Not feeling the regal vibe? No probs, get your rancho relaxo on and change the entire mood of your space by mixing up the colours and the images.
It's genius no?

We'd LOVE to see your Puzzles on display in your home, so don't forget to tag us on the socials @okayladyau
*Please note these framing instructions are for adult use only, we take no responsibility for injuries received by attempting this hack.
Comments will be approved before showing up.